If you’ve ever looked into emergency food kits, you’ve probably seen the price tags—$1,000, $2,000, sometimes even more. And while those kits promise convenience, they’re not the only way (or the best way) to build a reliable food supply.
The truth is, you can build your own 30-day food supply using meals your family already eats—without spending thousands upfront. It just takes a simple system and a little consistency.
Start With Food You Actually Eat
One of the biggest mistakes people make with food storage is buying meals they’ve never tried. Instead, think about what you already make every week. If you already eat it, you’ll actually use it—and that’s what makes your food supply practical. Meals like:
(Note: All of these recipes can be accessed for free by creating a free account at The Freeze Drying Cookbook)
How Much Food Do You Need?
A simple starting point is:
- ~2,000 calories per person, per day
- 30 days = ~60,000 calories per person
For a family of four, that’s about 240,000 calories total. That might sound like a lot, but don’t let it overwhelm you. The goal isn’t to hit that number overnight—it’s to build toward it over time.
The Simple System That Makes It Work
This is where most people get stuck—not on what to store, but on how to actually do it consistently. Here’s a system that works:
Step 1: Cook Extra
Make a little more than you need at dinner and set aside a portion for freeze drying.
Step 2: Portion Before Drying
Keeping portions consistent helps food dry evenly and makes it easier to rehydrate later.
 Step 3: Store It Properly
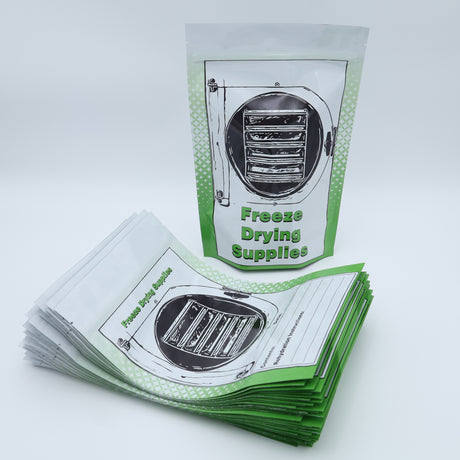
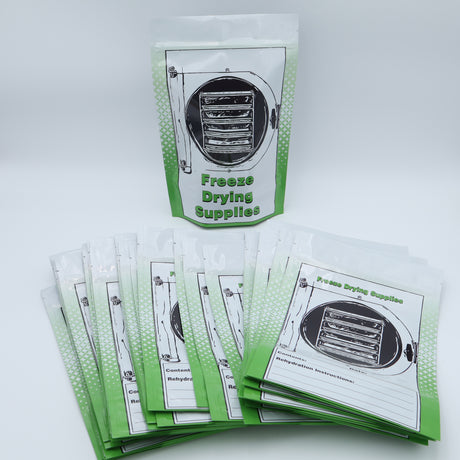
Use Mylar bags with oxygen absorbers, label everything clearly, and store in a cool, dark place.

Step 4: Build It Gradually
Add one or two batches per week. In a couple of months, you’ll be surprised how much you’ve built.
Where the Right Tools Make a Difference
Once you start building your system, the right tools can make everything smoother and more consistent. A few that make a big impact:
- Tray dividers help create even portions and improve drying consistency
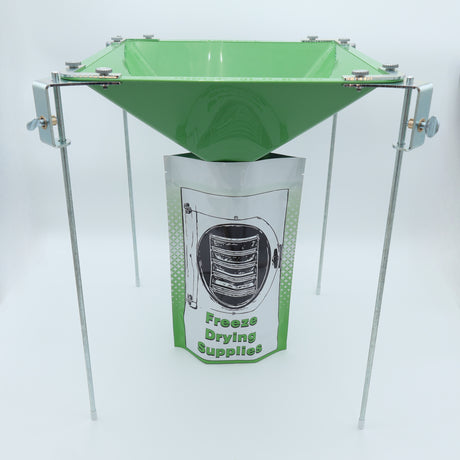
- Food funnels make it easy to fill Mylar bags without spills
- Lids keep trays stackable and organized while you prep batches
These aren’t just nice-to-have—they’re what turn freeze drying into a repeatable, low-stress routine.