How to Make Freeze Dried Ice Cream
Updated for 2026
Summary
- Start by letting the ice cream melt, blending it with a splash of milk. This will produce air bubbles, which prevents chalkiness and gives a more melt-in-your-mouth texture
- Pour into a tray lined with parchment, add dividers for perfect, effortless bite-sized portions. Be sure not to overfill – 1.5 quarts fills a medium Harvest Right tray.
- Customize each bite — try fruit, Skittles, or freeze-dried fruit powder
- Pre-freeze for 24 hours before running your cycle
- Use the Ice Cream setting and expect ~21 hours of cycle time
- Store with oxygen absorbers, in Mylar Bags or Mason Jars
Introduction
Freeze-dried ice cream is a rite of passage for anyone who owns a freeze dryer — but let's be honest, it's always had two big problems: a dry, chalky texture and no easy way to portion it into a consistent snack.
Today, we're sharing a few things we've learned that be a serious upgrade to your freeze-dried ice cream.
Step #1: How to Nail the Texture
We're going to break the cardinal rule of ice cream, but we promise it's worth it. Instead of freeze drying ice cream straight from the carton, let it melt first, then blend it.
 Melting makes it easy to pour the ice cream evenly onto trays. Blending introduces tiny air bubbles that completely change the final texture — less chalky, more melt-in-your-mouth. You might find that adding a splash of milk helps too, giving it more of a milkshake-like consistency.

Step #2: Create Perfect Portions
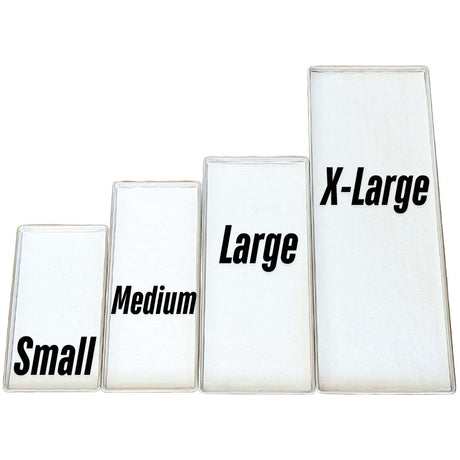
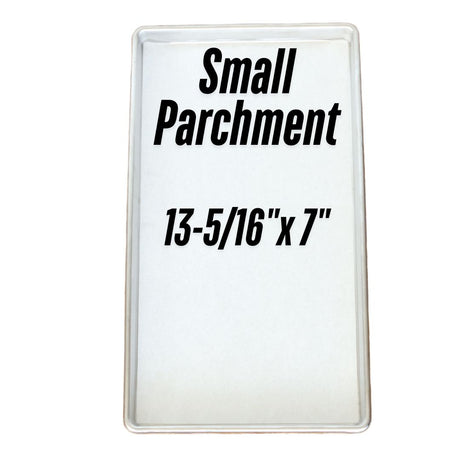
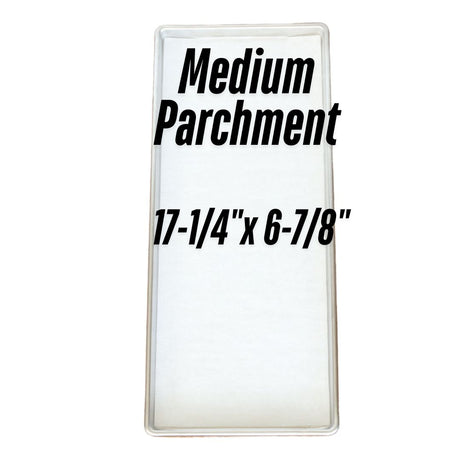
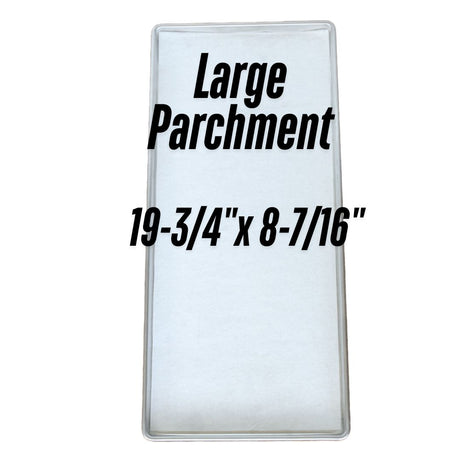
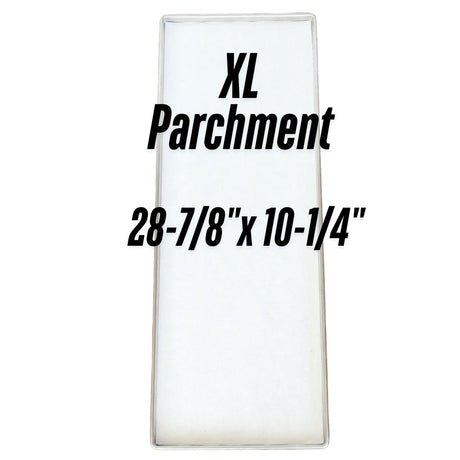
For bite-sized snacks like these, we highly recommend two must-have freeze drying tools: Pre-cut Parchment and Tray Dividers.
Start by placing your parchment in your tray to prevent sticking. Trust us, you won't want to clean this up afterward!
 Then, pour the blended ice cream right up to the lip of a medium tray (1.5 quarts is the sweet spot), drop in dividers, and you get perfectly uniform bite-sized pieces every time.

Step #3: Experiment with Flavors
Who says you have to stick with Neapolitan? For our most recent batch of freeze dried ice cream, we had a ton of fun experimenting with different ice cream flavors and variations:
- Try adding Malted Milk for that classic milkshake taste
- Add a piece of fruit (like a raspberry or sliced strawberry) or a piece of candy (like Skittles or M&Ms) for a sweet surprise
- Change the flavor completely by adding fruit powder (be sure to add extra milk if you try this)

Step #4: Pre-Freeze
Once you've blended the ice cream and popped in your dividers, we highly recommend pre-freezing. This will preserve those nice air bubbles, and ensure your batch doesn't over-expand in the freeze dryer.
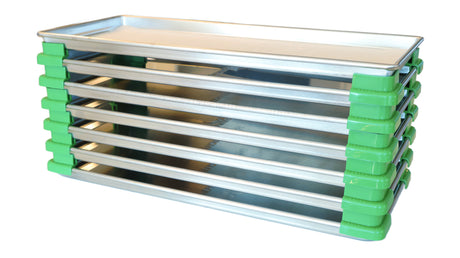
Tip: Use Stackable Tray Lids or Corner Stackers to maximize space in your freezer during the pre-freeze process.
 Make sure your trays are level to ensure uniform, even pre-freezing.
Step #5: Begin the Freeze Drying Process
Our cycle time was 21 hours. If you use the Harvest Right App, be sure to use the Ice Cream setting.
Step #6: Enjoy & Store
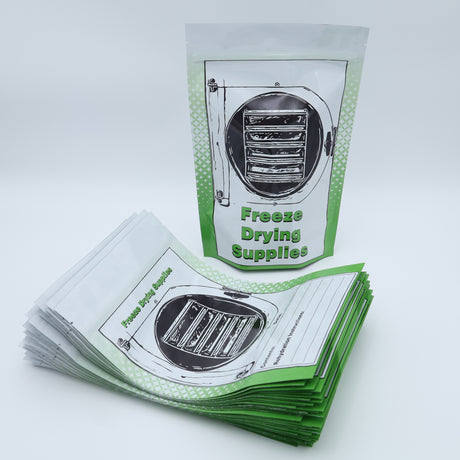
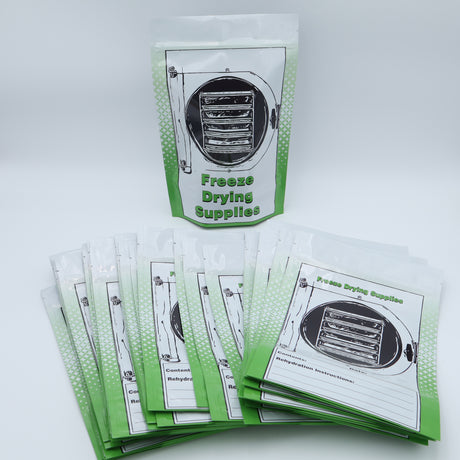
As always, store your freeze dried ice cream bites in Mylar Bags or vacuum-sealed Mason Jars – and don't forget the oxygen absorbers.